Beta: Chromecast Plugin for Brightcove Player
Overview
Google Chromecast is a device that you plug into your TV's HDMI port. Using your smartphone or computer as a remote control, you can use Chromecast to access video content. Chromecast Plugin for Brightcove Player enables Brightcove Player to cast video from your desktop or Android Chrome browser to the Chromecast device. The plugin supports all Video Cloud videos or external streams using HLS or DASH, including DRM-encrypted streams using Widevine. Advertising is supported through Video Cloud server-side ad insertion (SSAI). Client-side ads and playlists are not supported.
To actually use the plugin follow these steps:
- Load the Chromecast Plugin for Brightcove Player (detailed below).
- Be sure the Chromecast device is on the same network as your device that will play the video.
- Start playing the video.
- Click the cast button and select your Chromecast device.
Chromecast app components
The software behind Chromecast is comprised of the following components:
-
Sender application: As the name implies, this is the component that sends data to the Chromecast device. The sender application can be thought of as the "client side" portion of the Chromecast ecosystem.
The Chromecast Plugin for Brightcove Player enables the sender app in Brightcove Player. You will learn about it in this topic.
-
Receiver application: This component handles communication between the sender app and the receiver device and runs on the Chromecast device. It can be thought of as a single page HTML app with CSS and JavaScript assets.
As a Brightcove Player customer, you do not need to work with the code and configuration of the receiver application. By default, this plugin uses the Brightcove receiver app.
Using the plugin
The Chromecast Plugin for Brightcove Player is used like all other Brightcove Player plugins, that is you must load the plugin into the player.
Using Studio
The following steps detail using Studio to load the plugin.
- Open the Players module and either create a new player or locate the player to which you wish to add the plugin.
- Click the player's name to open its properties.
- Expand the Plugins accordion on the Overview tab.
- Click Add Plugin, and then select Brightcove Plugin.
- Expand the Brightcove Plugin dropdown and select chromecast-receiver.
-
Optional: Enter the configuration options in the Options(JSON) text box. An example for the default player in the 1752604059001 account is shown. You, of course, need to enter information for your player.
{
"playerUrl" : "https://players.brightcove.net/1507807800001/default_default/index.min.js"
}
See below for details on the options.
- Click Publish Changes to apply the configuration to your published players.
-
Return to the Media module and publish your video or playlist using the player you just updated for Chromecast.
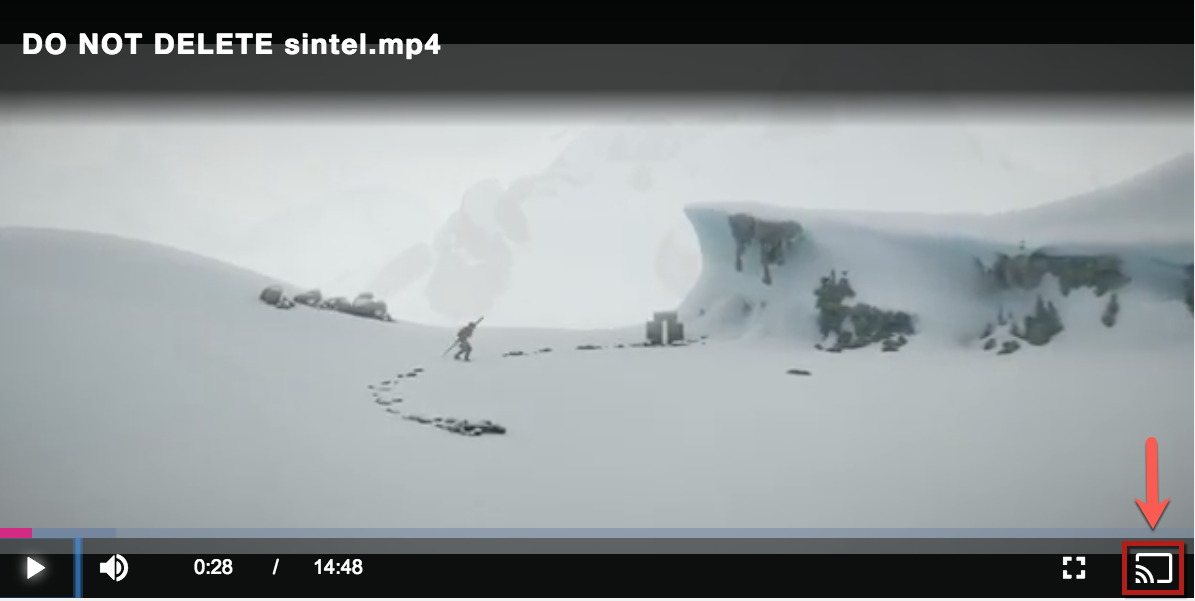
Once the plugin is loaded, the video has started playing, and an available Chromecast device is in range, the cast button will appear in the player as shown here in this screenshot of a player:
Configuration options
No matter which method you choose to setup the Chromecast Plugin for Brightcove Player, you can pass options to modify plugin behavior. While setting these options is not necessary, additional customization is possible for advanced users. The available options are:
-
playerUrl
Default:URL of current playerWhen unspecified, this will point to the player that is casting your videos. Supplying this option will force the receiver to load a specific player rather than the player that is currently casting the video. This is useful when you want specific player code to only run on the Chromecast.
Since this is a Brightcove player that is loaded on the receiver, you can customize, style and debug the player outside of Chromecast.
-
css
Default:[]An array of custom CSS to load after the player CSS is loaded on the Chromecast receiver.
To pass options in code, you would use something similar to the following:
videojs.getPlayer('myPlayerID').ready(function() {
  var myPlayer = this;
  options = {};
  options.playerUrl = '//players.brightcove.net/1752604059001/default_default/index.min.js';
  myPlayer.chromecastReceiver(options);
});
Known issues
- The Chromecast Plugin is supported with the Brightcove Player version 6+.
- Google has stopped supporting non-secure origins (HTTP) with Chromecast, hence the plugin will not work in non-secure contexts. In these cases, the player's Chromecast button will not appear.
-
Since the Chromecast Plugin relies on the browser's support for casting,
it is only supported in the following OS/browser combinations:
- Desktop/Chrome
- Android/Chrome
- Google does not support multiple instances of the Chromecast sender button on a single page. Possible workarounds would be to embed the Brightcove Player using the Iframe player implementation, or to dynamically instantiate and destroy players as needed. See the document Brightcove Player Sample: Loading the Player Dynamically for information on the latter possibility.
- This plugin does not cast to Google Nest Hub. The plugin only supports actual Chromecast devices (i.e. Chromecast and Chromecast Ultra).
Changelog
See the changelog here.