Overview
The Custom Endscreen plugin allows display of customer supplied HTML at the conclusion of video playback.
The sample video below demonstrates the use of the Custom Endscreen plugin. At the end of this short video you will see text displayed from the following HTML:
<strong>Content</strong> for <em>custom</em> end screen
Implement using Players module
Custom endscreens can be implemented by editing the endscreen properties or by using the custom endscreen plugin. To implement the custom endscreen plugin using the Players module, follow these steps:
- Open the PLAYERS module and either create a new player or locate the player to which you wish to add the plugin.
- Click the link for the player to open the player's properties.
- Expand the End Screens section on the Overview tab.
- Next, for the Player End Screen type, click the down arrow and select Custom.
- In the Custom HTML text box, enter the HTML to be rendered on the endscreen. Here's an example:
<div style="text-align:center">
<p>This video sponsored by</p><br/>
<img src="http://support.brightcove.com/site-assets/images/site/logos/BeaconLogo.svg"/>
</div>
This will display the following endscreen:
- Click Save.
- To publish the player, click Publish Changes.
- To close the open dialog, click Close.
Implement using JSON Editor
For players 7.21.0 and newer, you can also follow these steps to add the plugin using the JSON editor:
In the Players module, navigate to the player you want to configure and click the JSON Editor accordion on the Overview tab.
Modify the "plugins" array to add the Custom Endscreen plugin.
    "plugins": [
    {
      "name": "customEndscreen",
      "is_packaged": true,
      "options": {
        ...
      }
    }
  ]
Options
The following optons property is used to control the Custom Endscreen plugin:
content:- Type:
string - Any string literal or HTML that is rendered on the custom endscreen.
- Type:
Customize the endscreen
You can use CSS to customize the appearance of your endscreen. Below are a few examples of what you can do. Make sure to test your implementations to ensure they work with your page content.
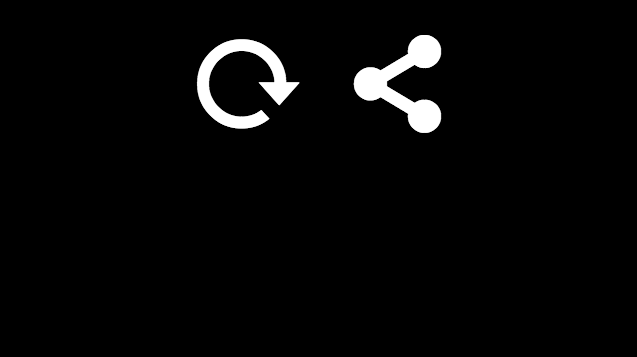
This is how the endscreen appears with the restart video button and a social sharing button.
Change button size
Let's say you want to change the size of the endscreen buttons. These button images are Scalable Vector Graphics (SVG) format so that they load quickly on all platforms. Because of this, you can't change their size by using the width and height CSS properties.
Instead, since these buttons are XML text files, you can change their size by using the font-size CSS property.
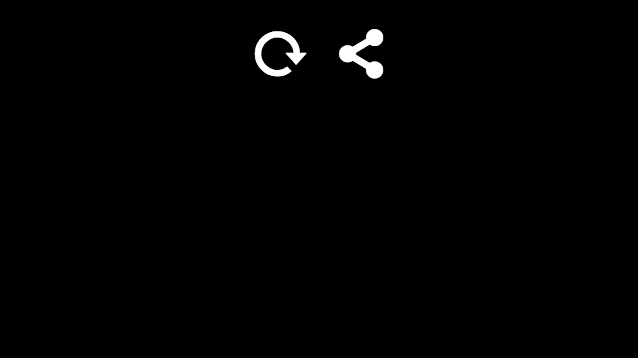
Use the code below to make both buttons smaller:
.vjs-overlay-buttons {
  font-size: .5em;
}
Using a percentage value should have the same effect:
.vjs-overlay-buttons {
  font-size: 50%;
}
The result should look like this:
Or you can control the size of each button independently:
.vjs-restart-control {
  font-size: .5em;
}
.vjs-trigger-social-control {
  font-size: .5em;
}
Move content below buttons
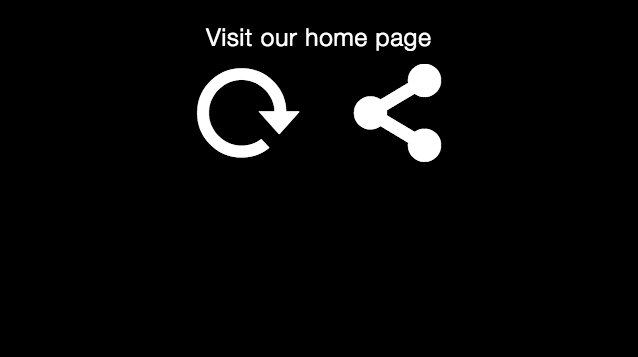
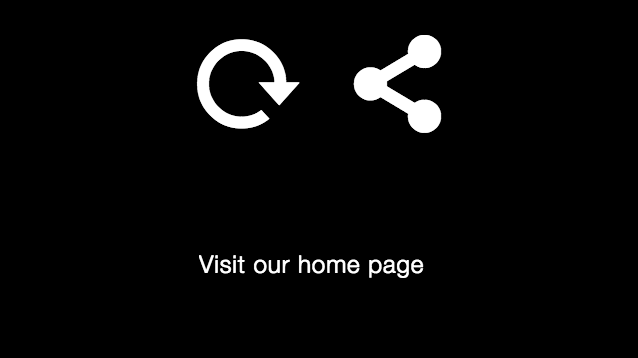
Earlier in this document, you learned how to add content to the endscreen. To review, you can add any HTML to the plugin. The code below adds a link to our homepage to the endscreen:
<a href='https://www.brightcove.com'>Visit our home page</a>
By default, your added content displays above the endscreen buttons:
Use the following CSS to position your HTML content below the endscreen buttons:
- Lines 190-193: Position the buttons from the top. These elements are already centered on the page for you.
- Lines 194-196: Remove the default padding for the entire overlay to help center your custom text.
- Lines 197-202: Position your custom text from the bottom and center it horizontally.
.vjs-overlay-buttons {
  position: absolute;
  top: 5em;
}
.vjs-custom-overlay {
  padding: 0;
}
.vjs-endscreen-overlay-content {
  position: absolute;
  bottom: 5em;
  text-align: center;
  width: 100%;
}
The result should look like this:
Display vertical content and buttons
You can also change the layout of your HTML content and the endscreen buttons. By default, they are displayed horizontally, with your content above the buttons. The code below floats your content to the left of the buttons and displays the buttons vertically:
- Lines 205-210: Position the buttons from the top and left. The small width caused the buttons to align vertically.
- Lines 211-213: Remove the default padding for the entire overlay.
-
Lines 214-223: Positions you custom text to the left of the buttons, centered horizontally and vertically in half of the overlay.
.vjs-overlay-buttons {
  position: absolute;
  width: 10%;
  top: 20%;
  left: 50%;
}
.vjs-custom-overlay {
  padding: 0;
}
.vjs-endscreen-overlay-content {
  position: absolute;
  float: left;
  width: 50%;
  text-align: center;
  top: 45%;
  transform: translate(0, -50%)
  -webkit-transform: translate(0,-50%);
  -ms-transform: translate(0,-50%);
}
The result should look like this:

You can be creative with how your endscreen will look by overriding the default CSS properties. In your browser, inspect the elements to find the element class names and values. For a quick review of how to do this, see the Customize Player Appearance document.
Use mailto with video name
You may wish to allow the viewer of the video to email you a question or comment. You can do this by using an HTML mailto link in the custom endscreen, as shown here:
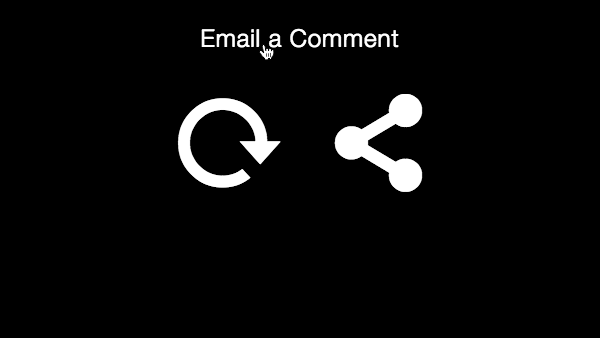
Clicking the link will open the customers default email client. The code below shows how to use the video's metatdata, in this case the video name, to automatically be the subject of the email.
The following section explains how to do that particular task, but moreover, once you have data from the mediainfo property, any video metatdata could be used in the mailto link.
- Line 235: Include the CSS for the customEndscreen plugin.
- Lines 236-241: CSS to change the size of the player.
- Lines 245-251: Standard in-page embed code used. Note an
idis added. - Line 253: Specify the source for the JavaScript code for the endscreen plugin.
- Lines 256,257,270: Standard setup for using code with the player.
- Line 262: Listens for the
loadstartevent. This is when the video has started loading and its metadata, found inmyPlayer.mediainfo, is available. - Line 263: URL encode the name of the video and assign to a variable. For the value to be used as a subject in a mailto link it is required by HTML standards the string be URL encoded.
- Lines 264-265: Build the
<a href="mailto">link. - Lines 266-268: Call the
customEndscreen()method, and use the created mailto link for the endscreen's content.
<!doctype html>
<html>
<head>
  <meta charset="utf-8">
  <title>End screen with title as subject</title>

  <link href="https://players.brightcove.net/videojs-custom-endscreen/2/videojs-custom-endscreen.css" rel='stylesheet'>
  <style type="text/css">
    .video-js {
      width: 600px;
      height: 338px;
    }
  </style>
</head>
<body>

  <video-js id="myPlayerID"
    data-video-id="1507781667001"
    data-account="1507807800001"
    data-player="default"
    data-embed="default"
    controls=""></video-js>
  <script src="https://players.brightcove.net/1507807800001/default_default/index.min.js"></script>

  <script src="https://players.brightcove.net/videojs-custom-endscreen/2/videojs-custom-endscreen.min.js"></script>

  <script type="text/javascript">
    videojs.getPlayer('myPlayerID').ready(function() {
      var myPlayer = this,
        subjectEncoded,
        theMailto,
        theLink;

      myPlayer.on('loadstart',function(){
        subjectEncoded = encodeURI(myPlayer.mediainfo.name);
        theMailto = 'mailto:nowhere@mozilla.org?subject=' + subjectEncoded;
        theLink = '<a href="' + theMailto + '">Email a Comment</a><br /><br/>';
        myPlayer.customEndscreen({
          "content": theLink
        })
      })
    });
  </script>

</body>
</html>
Using macros
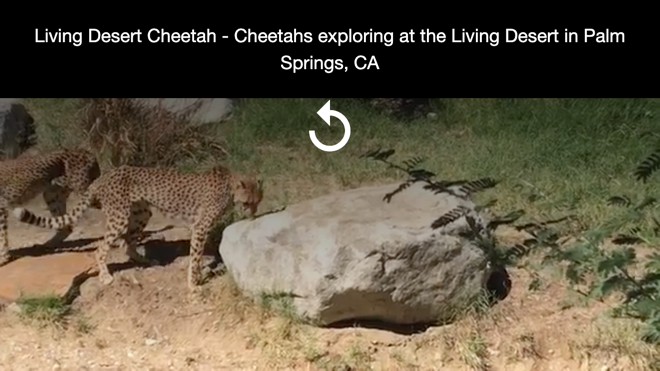
The content string provided for custom endscreens may now include macros (supported by videojs-contrib-ads). For instance, if you wanted the endscreen to include the name and description of the video currently in the player, you would use code similar to:
videojs.getPlayer('myPlayerID').on('loadstart', function() {
  var myPlayer = this;

  // +++ Call endscreen method +++
  myPlayer.customEndscreen({
    content: '{mediainfo.name} - {mediainfo.description}'
  });
});
This would result in the following endscreen:
Here is the complete list of available macros:
| Macro | Description |
|---|---|
| {player.id} | Player ID |
| {mediainfo.id} | Video ID |
| {mediainfo.name} | Video title |
| {mediainfo.description} | Short description (250 chars max) |
| {mediainfo.tags} | Tags (metadata) associated with the video |
| {mediainfo.reference_id} | Reference ID |
| {mediainfo.duration} | Duration of the video as reported by Video Cloud |
| {mediainfo.ad_keys} | Free form text string that can be added and edited in the Media module of Studio; you should use the query parameter in the form
|
| {player.duration} | Duration of video as measured by player (possibly slightly different from mediainfo.duration and probably more accurate) |
| {document.referrer} | Referring page URL |
| {window.location.href} | Current page URL |
| {timestamp} | Current local time in milliseconds since 1/1/70 |
| {random} | A random number 0-1 trillion (Used to create a unique impression. This prevents the ad from being cached in the browser and prevents impression discrepancies.) |
Known issues
- In the very rare event that you are manually keeping the controlbar visible at all times AND using the custom end screen plugin, you will need to make a small change to have the controlbar function correctly after the end screen is displayed. By default the endscreen plugin disables the controlbar. To enable the controlbar, since it is always visible, you need to use the JavaScript
player.controls(true)after theModalDialog'smodalopenevent is dispatched.
Changelog
For historical release notes and changelog up to v4.0.0, see the Custom Endscreen Plugin Releases.
Notable changes made after version v4.0.0 will be included in the Brightcove Player Release Notes.