Player example
The sample video below supplies a Download Transcript button in the controlbar which downloads a text file that has been provided using this method.
Implement using Players module
To implement the transcript option using the Players module, follow these steps:
- Open the PLAYERS module and either create a new player or locate the player to which you wish to add the plugin.
- Click the link for the player to open the player's properties.
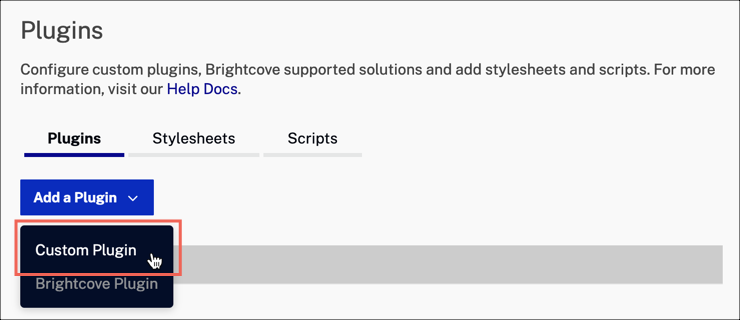
- In the left navigation, click Plugins.
-
Expand the Add a Plugin dropdown menu, and select Custom Plugin.
- For the Plugin Name enter
downloadTranscript. -
For the JavaScript URL, enter:
http://players.brightcove.net/1752604059001/custom_plugins/57NUYRswpi-ce7b1a31-0df0-4257-93cb-5dc9e84c36e7.js -
For the CSS URL, enter:
http://players.brightcove.net/1752604059001/custom_plugins/57NUYRswpi-262386ee-1bb7-4ea6-834c-effa7e312fc2.css - Click Save.
- To publish the player, click Publish & Embed > Publish Changes.
- To close the open dialog, click Close.